Today I will be installing software and hardware, and I will be safely replacing one of the components of the PC.
The component will be the hard drive.

First of all you must set up and use an anti-static kit. this consists of a wristband, matt, a grounding plug, crocodile clip for joining the saftey equipment to the PC and all the necessary wires.
Make sure you plug in the grounding plug. This ensures all static electricity is grounded properly.
now that you have the necessary protection, start by removing all the wires from the back, remember which goes into the hard drive and where.
The Hard drive will be screwed onto the casing, all this takes is a quick unscrew, keep these screws safe.
here is the removed hard drive. take into account that all my safety equipment are still in place.
here are the two hard drives, left is the one I removed, right is my replacement.
the new hard drive has been placed in the same slot and screwed in, now all there you need to do is put the wires back in.
here you can see I have placed all the wires back into the hard drive and it looks just like before.
To test for your hard drive, get into the bios screen when you start your PC up. you will need to press a button and it is usually delete,Esc, or F12, there you can look at the features and fine the hard drive you have installed.
now I will be installing hardware and software, the hardware I will be installing is a printer, and the software is the software package that is required to use the printer.
Here is the printer that I will be installing.
first I will install the software required, this is usually found in a provided disk. Insert the disk into the CD-ROM drive.
In My Computer, double click the disk that should be detected, this auto runs the disk.
Here is the install wizard that starts when the disk is run.
it may have more than one method of installation, easy install or normal install are the best way of installing the software.
when installing some software, there is usually a User Agreement, this should be read as it holds vital information stating what you can and cannot do. to continue click Agree and Next.
The instal wizard has found a spot in the hard drive to install the software, click next.
Now the software is being installed.
I have been asked now to install the hardware, this will finish the installation process.
Installing the hardware is fairly easy, it really is just plugging in necessary wires, the cable to link to the PC is a USB lead for this laptop, so all i did was insert the USB into the computers USB port.
the install wizard must establish a connection to the printer and the computer, this may take a short while.
the hardware is now communication with the PC and can now be used.
Now all you need to do is test that the hardware is working, for me, I printed a test page.
now that I have shown you how to install, I will show you how to Uninstall.
When you install any software, you usually get an uninstall wizard installed too. On the start menu, click the uninstall wizard.
This uninstall wizard uninstalls software from specific printers, so I selected my printer. you may not need to do this.
The uninstall wizard usually double checks if you really want to uninstall the software, just click yes.
now there is nothing left to do is wait, once done the software will be uninstalled and all the space on the hard drive that this software took up is now free to be used again.

 Here is a New Folder, i will be using this folder to hold some work. It will be named My work. Just double click the name of the folder and change the name.
  I have named this folder My Work. Although i have no more screenshots, these folders are essential to organise work, naming files works in exactly the same way as these folders.
  Next I am going to schedule automatic deletion of unwanted data. first click sceduled tasks in the control panel.
  Next click "Add Scheduled Task".
 Disk Cleanup in the process that is done to delete unwanted or unused files.
 I have chosen that i should have a Disk Cleanup weekly.
  I have also chosen to have the cleanup happen are 7:00 on monday every week.
  I am then asked to enter the password, this is for security purposes.
  Next you just need to click next.
 Here is the Disk Cleanup schedule in the list of tasks.
 I also want to do my first disk cleanup manually. This is so i can delete my temporary files. in can find disk cleanup by following Start > Program Files > Accessories > System Tools > Disk Cleanup.
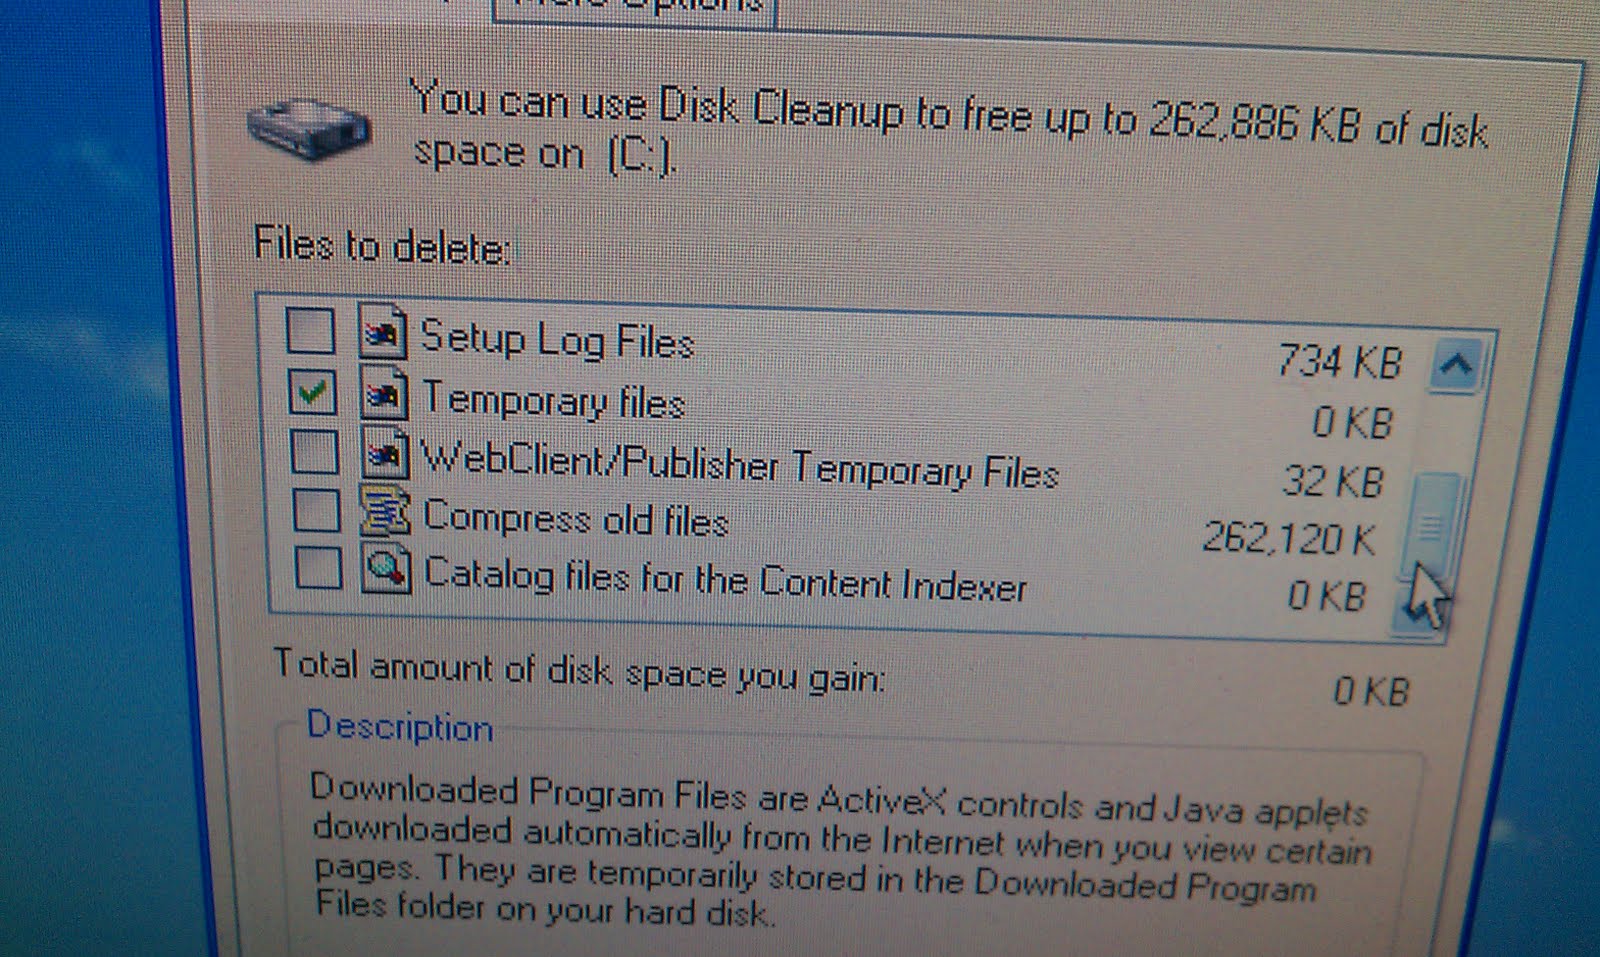 Here you can find temporary files, click it to select the deletetion on them. although I have none at this time i will still show you how it is done.
 Clicking yes here will complete the deletion of your temporary files.


